Recently I have across this amazing product called Netlify! What impressed me was the incredibly simple way to deploy your websites.
Let’s say you have a statically generated site or a Single Page Application code on Github.
Want it to be accessible to others on the Internet?
It takes less than 10 clicks with Netlify.
CI/CD? It’s integrated. If your build fails, your site will not be deployed.
Human friendly domain? Netlify will assign one (subdomain on .netlify.com) for you. You can also connect your own domain to Netlify via CNAME or A level entry.
Secure site over HTTPS? Yes, connections are encrypted using Let’s Encrypt certificate by default.
But my serverside code?!?!? Netlify functions (AWS Lambda) are there to save your day. It’s free to start with as well.
A/B testing your MVP? Yes, you can do a split branch deployment from your repository. For some people this might be the biggest benefit of using Netlify.
I know, it sounds too good to be true. Well, considering that currently it is free of charge - it’s the best ROI you could ask for.
Alright, let’s get to work.
What you will need:
- Github account
- 10 minutes of your time
Let’s create a Netlify account with Github.
Head over to Netlify.com and press on the “Sign up” button. Select Github as your sign up method.
After you confirm that you share your basic information with Netlify we should be good to go.
Next set up a new site from our Github repository
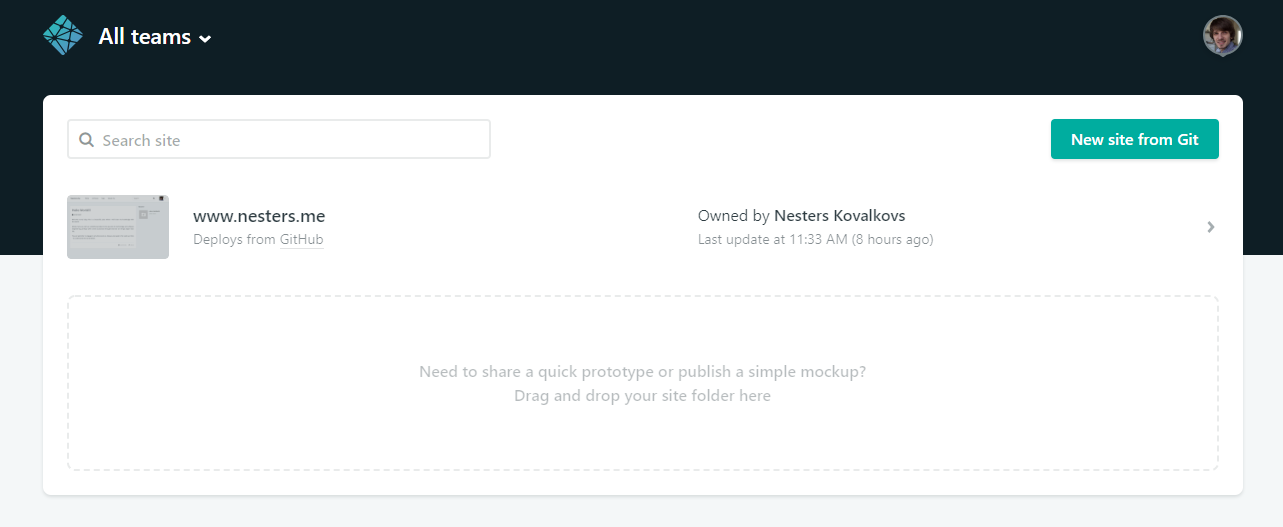
Click on the New site from Git button
Now, let’s connect it with Github (or Gitlab/Bitbucket if that’s where you store your code).
For the sake of convenience I will be using Github.
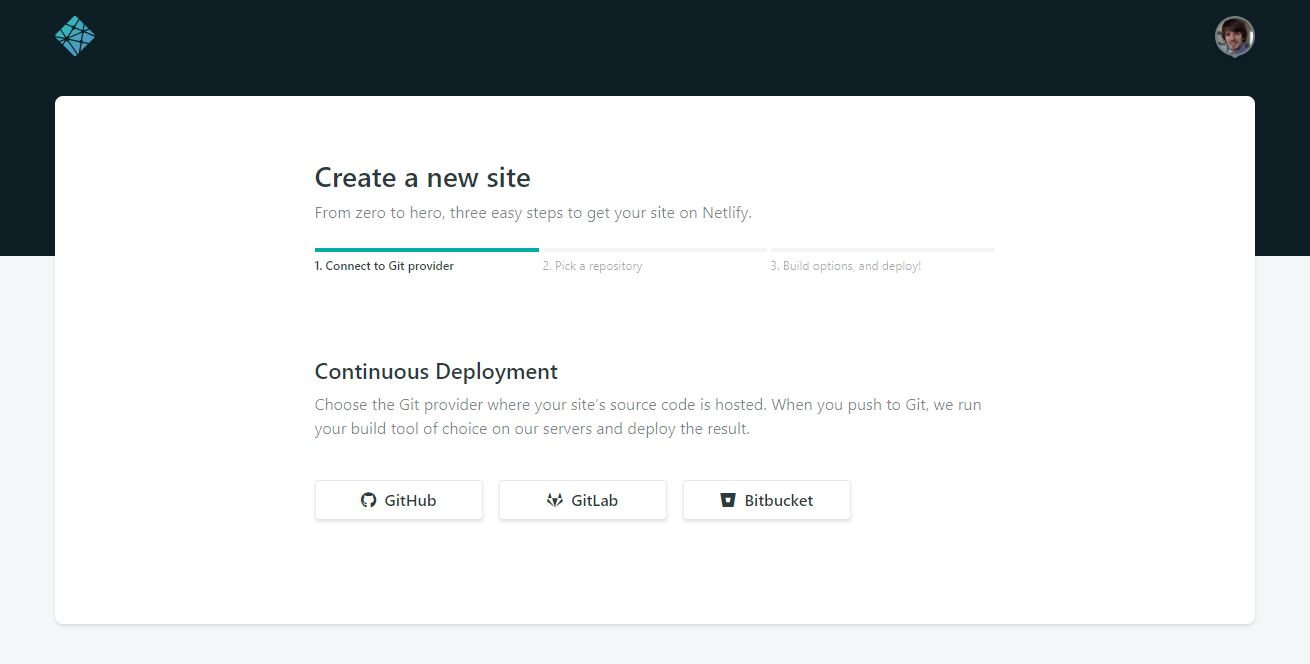
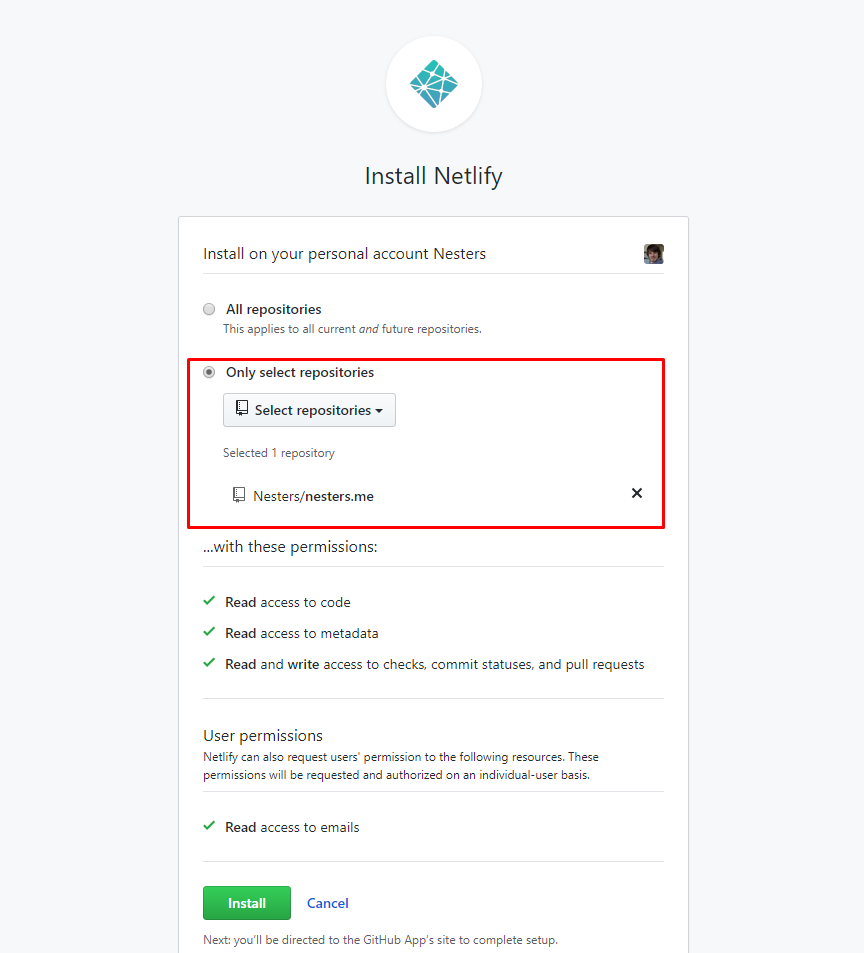
You will need to authorize Netlify to access your Github repositories. It will also set up a deploy key for your published sites so you can take advantage of their amazing CI/CD.
You can limit this access only to repository where your site resides, if you are worried about privacy and security risks.
Last thing left - deployment options.
Choose the branch you want to deploy from. Remember, that each time you push to this branch - your site will be redeployed.
You might want to keep a separate deploy branch instead of using master if you want to schedule your deployments.
We also need to set up build command - in my case of deploying this blog where I use Hexo, it’s hexo generate.
For you it might be npm run build etc.
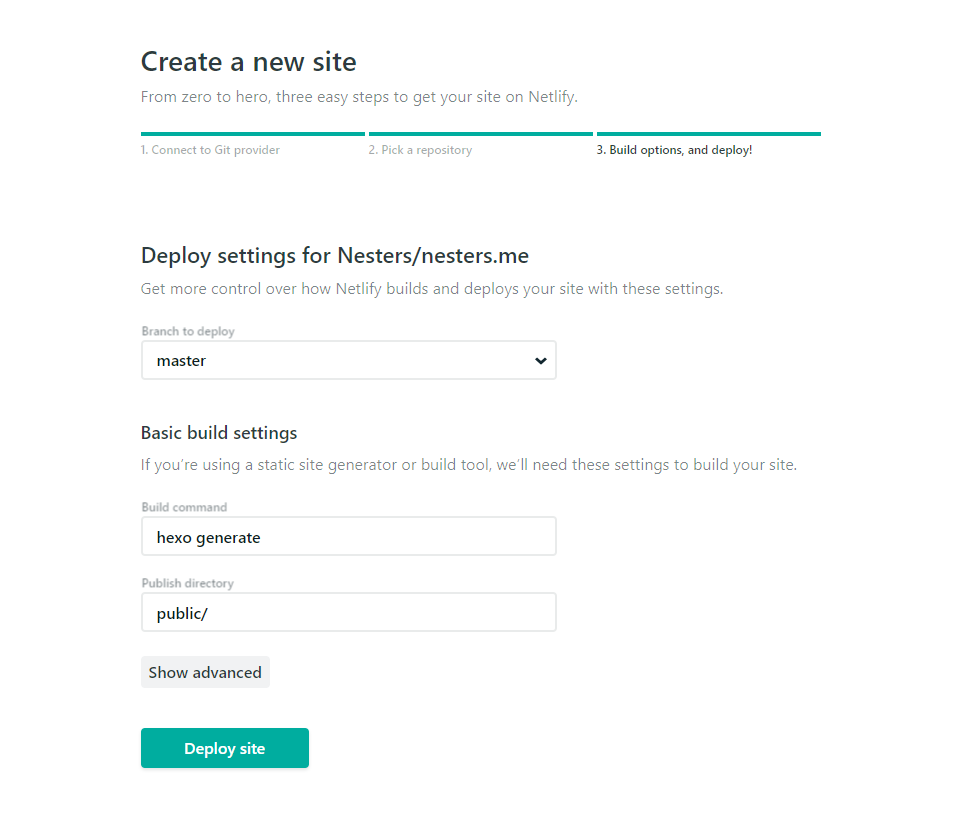
Once you press “Deploy site”, it will be live within couple seconds or more (depends on how heavy your build is).
Your site should now be live.
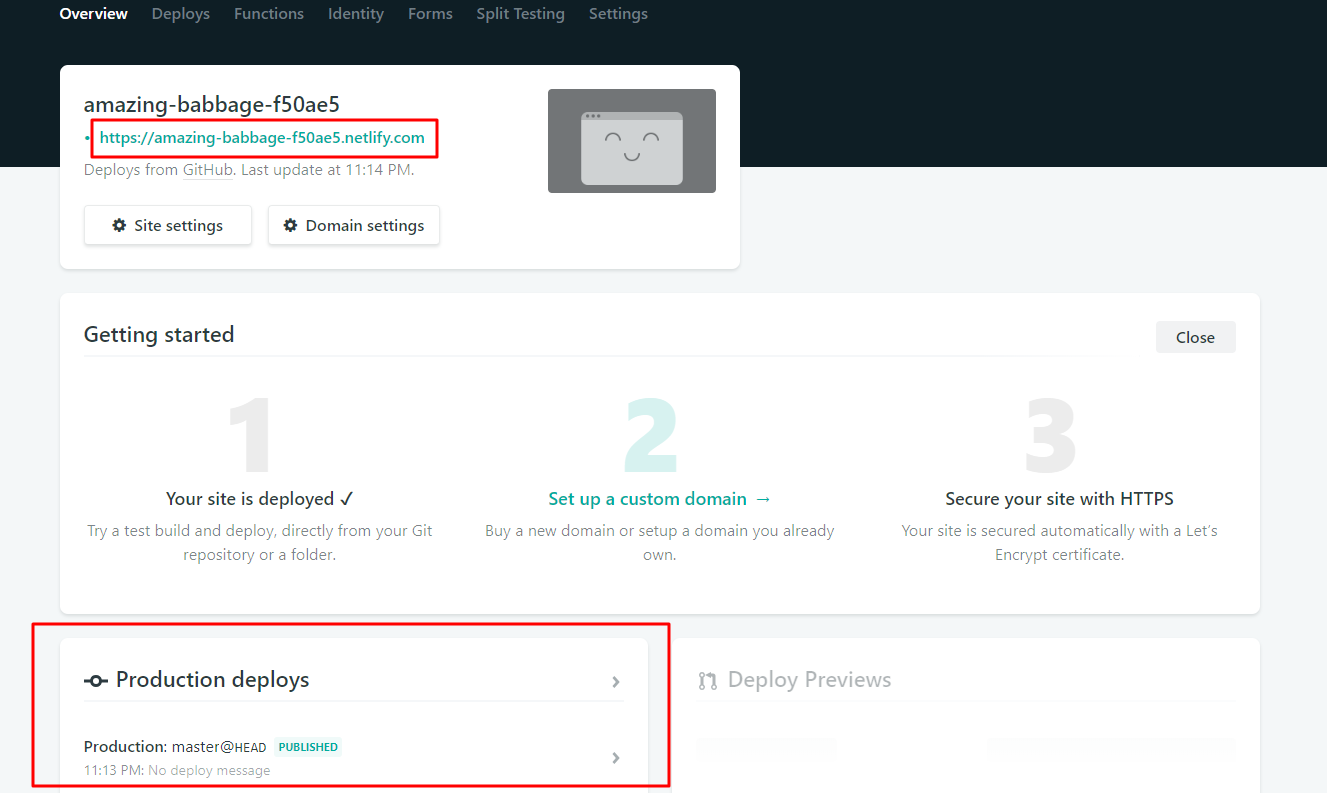
In the top left corner - you have a URL for your site and a small preview thumbnail.
At the bottom left you can see your deployments. You can click on any of them and see the console output for your build.
Very useful for debugging when the deployment actually fails.
Make sure to follow me for more advanced functionality coverage coming up soon.
Useful links:
Netlify documentation